Launch EC2 instance
Launching an EC2 Instance
ℹ️ Information: Amazon EC2 (Elastic Compute Cloud) provides scalable computing capacity in the AWS Cloud, eliminating the need to invest in hardware upfront.
To create a Linux EC2 instance using the AWS Management Console, follow these instructions. This guide helps you quickly launch your first instance with essential configurations. For advanced options, refer to the Launch Instance documentation.
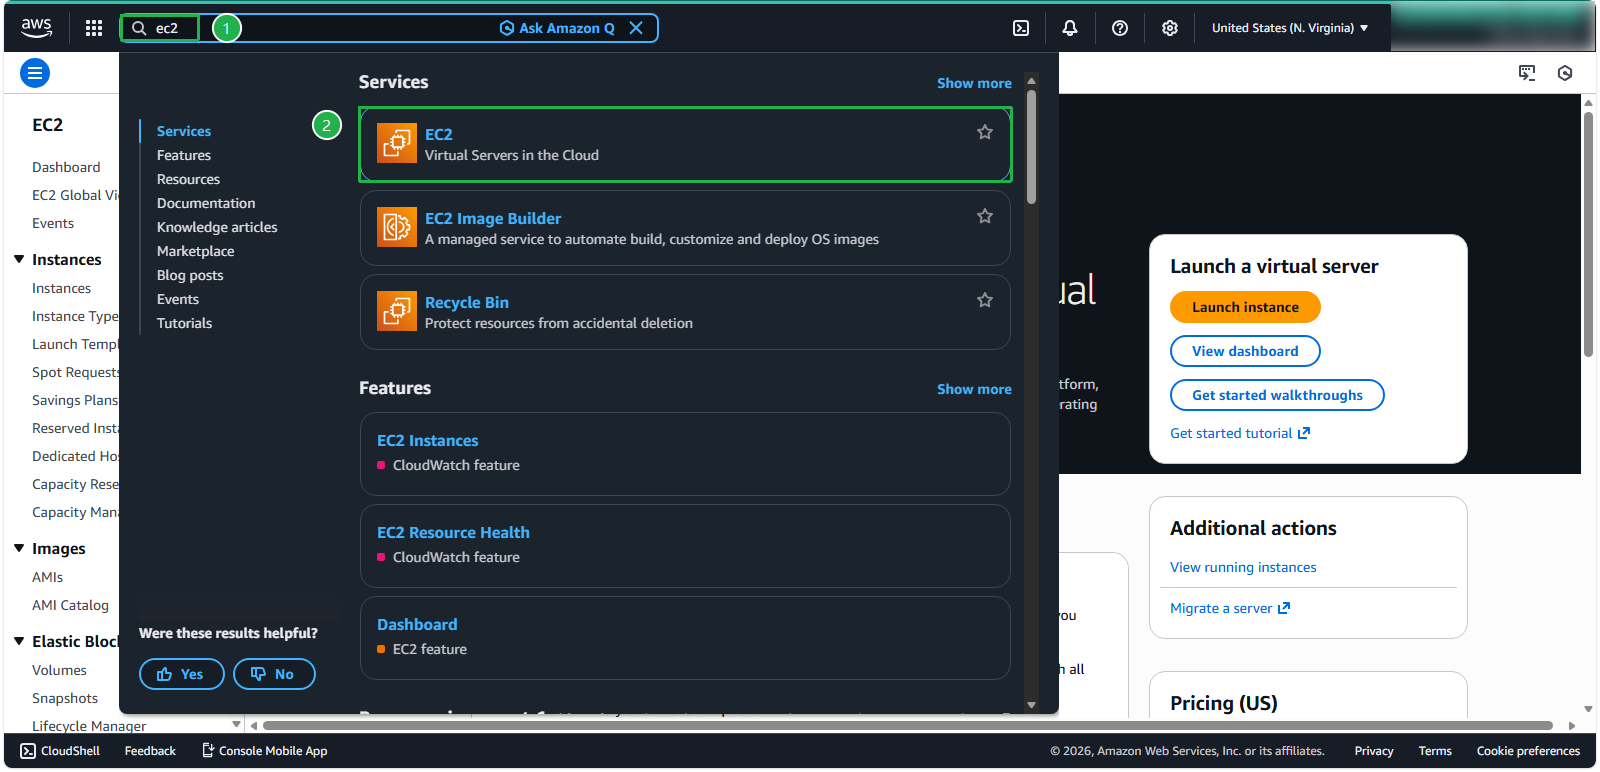
- In the search bar, search and select EC2
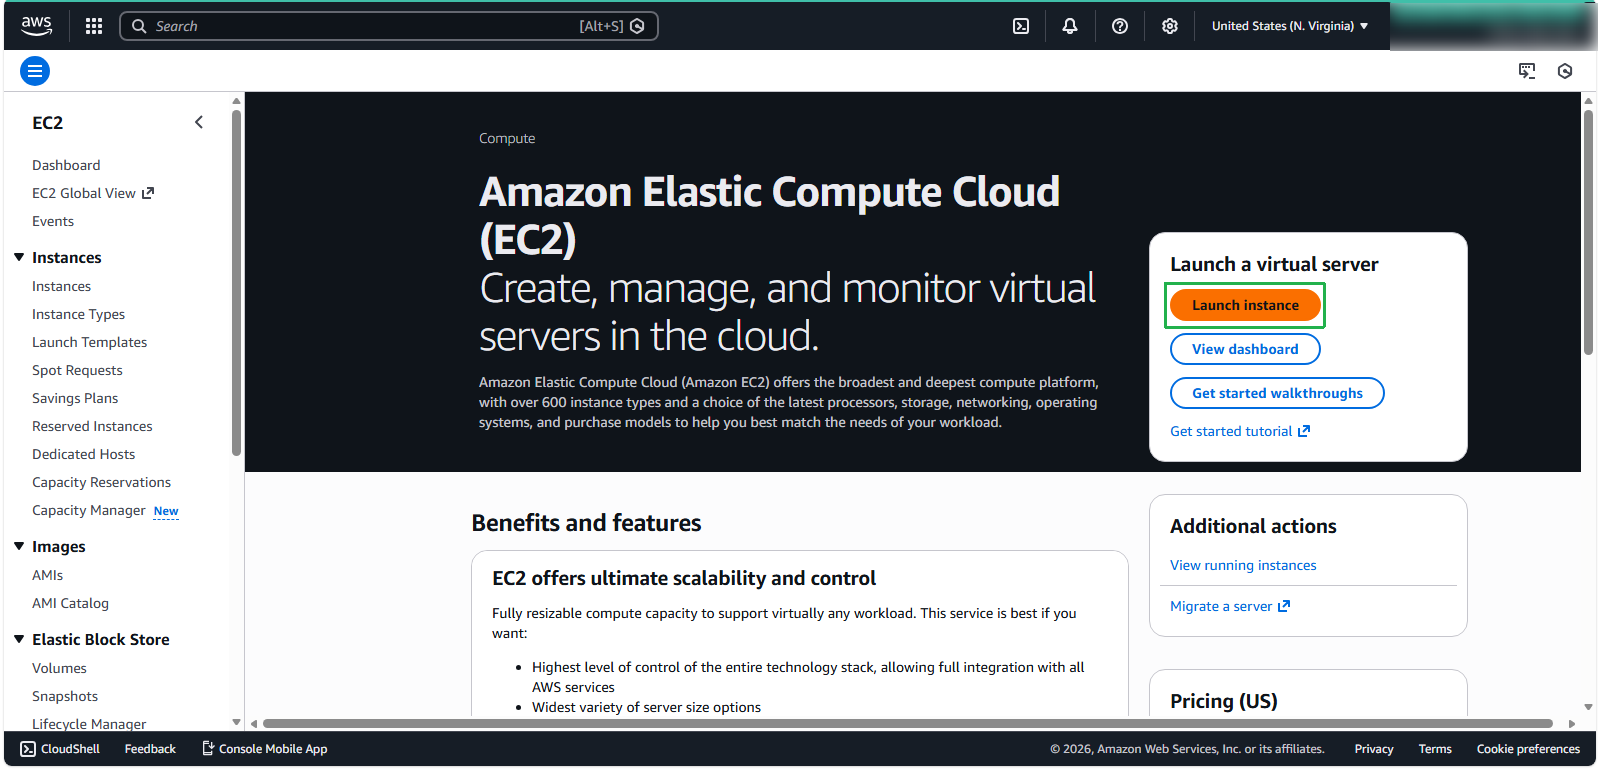
- In the EC2 console, click Launch instances
Configure Basic Instance Details
- For the instance name, enter
ec2-instance
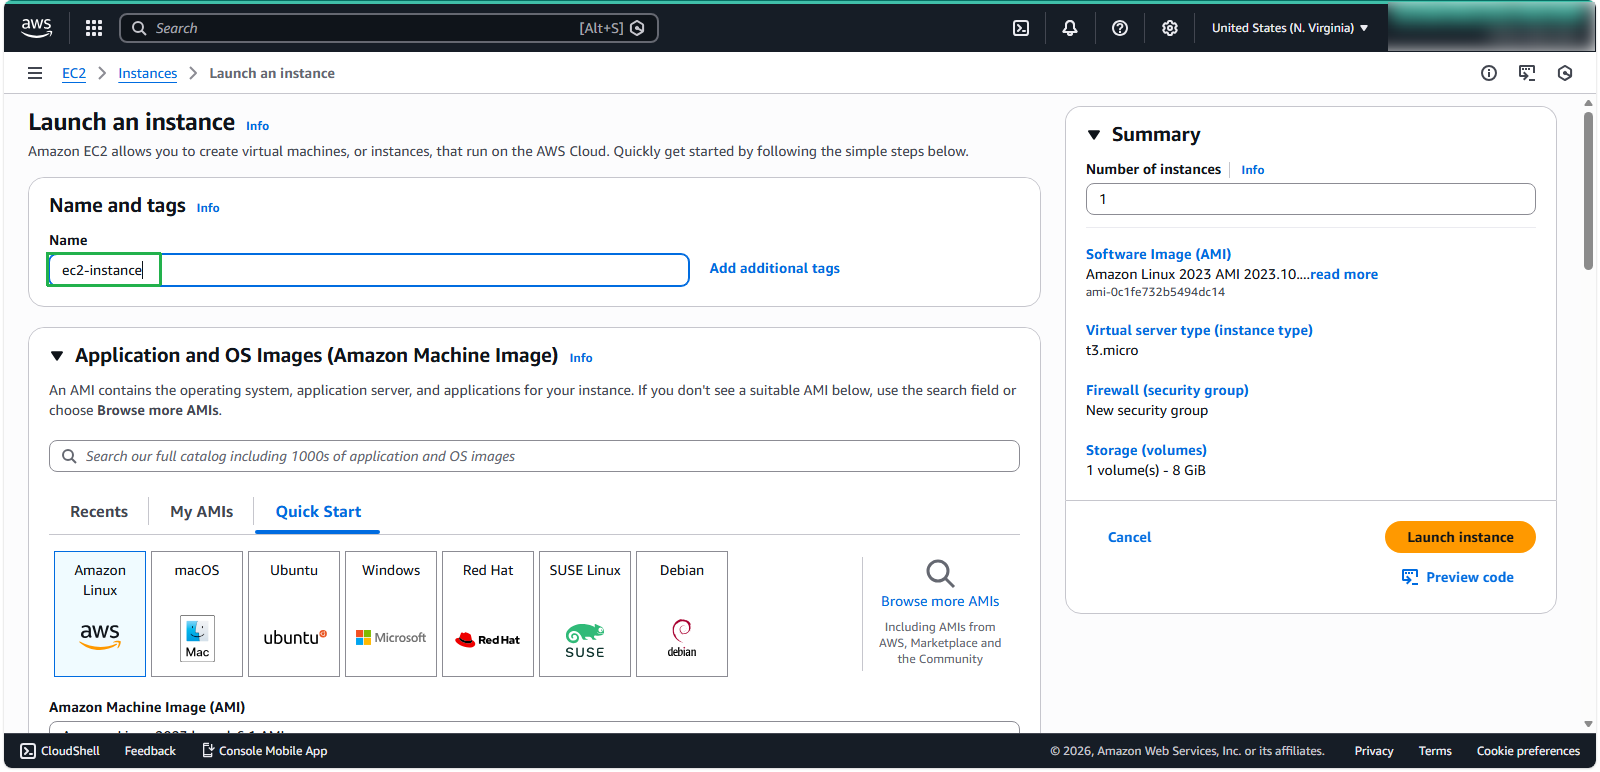
- For the operating system:
- Select Quick Start
- Choose Amazon Linux
- Select Amazon Linux 2023 AMI
💡 Pro Tip: Look for AMIs marked as Free tier eligible to avoid unexpected charges if you’re using the AWS Free Tier.
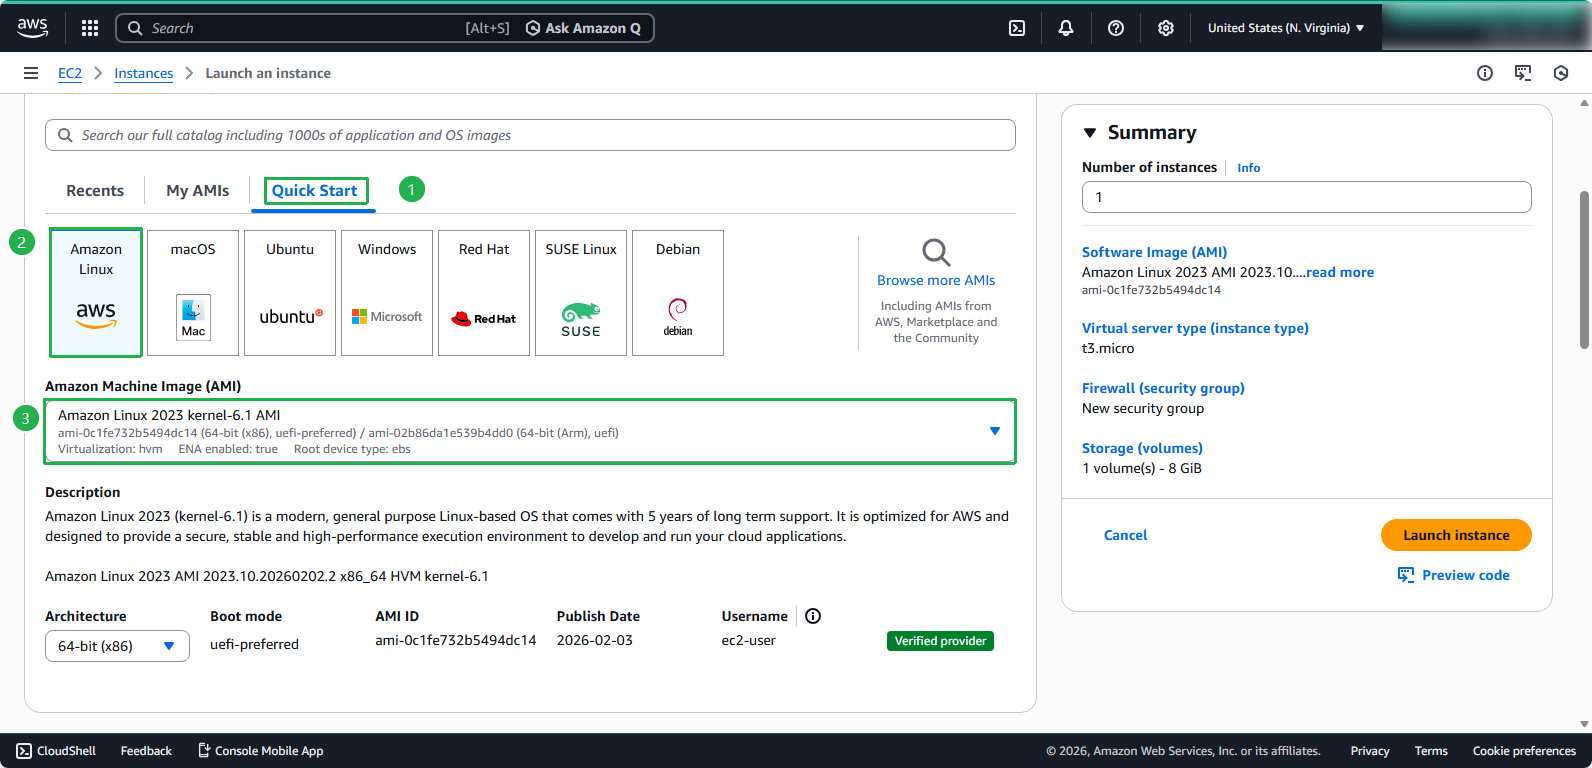
- For compute resources:
- Select t3.micro instance type
- Click Create new key pair
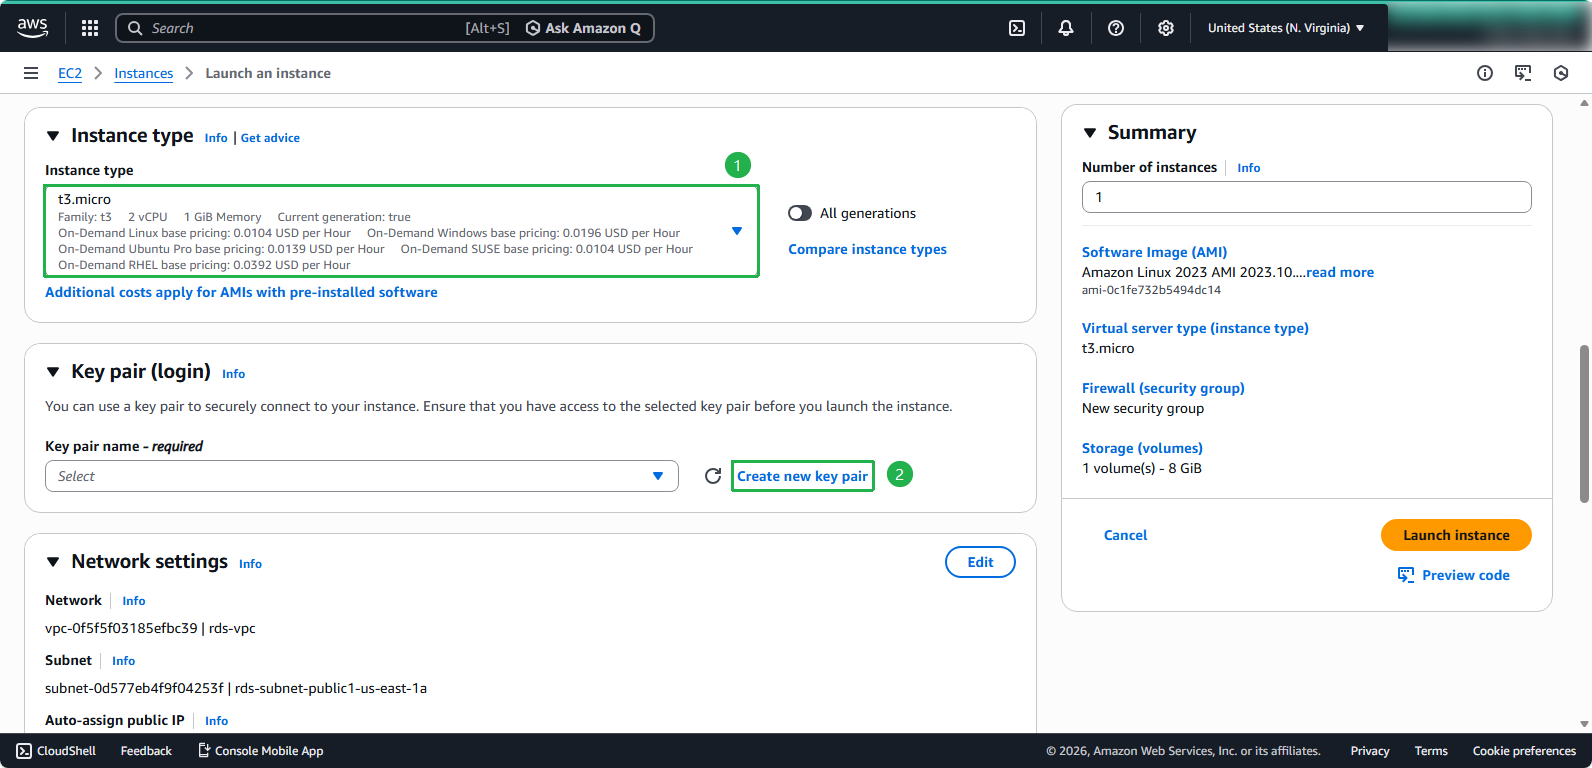
🔒 Security Note: The key pair is essential for secure SSH access to your instance. Store the private key securely and never share it.
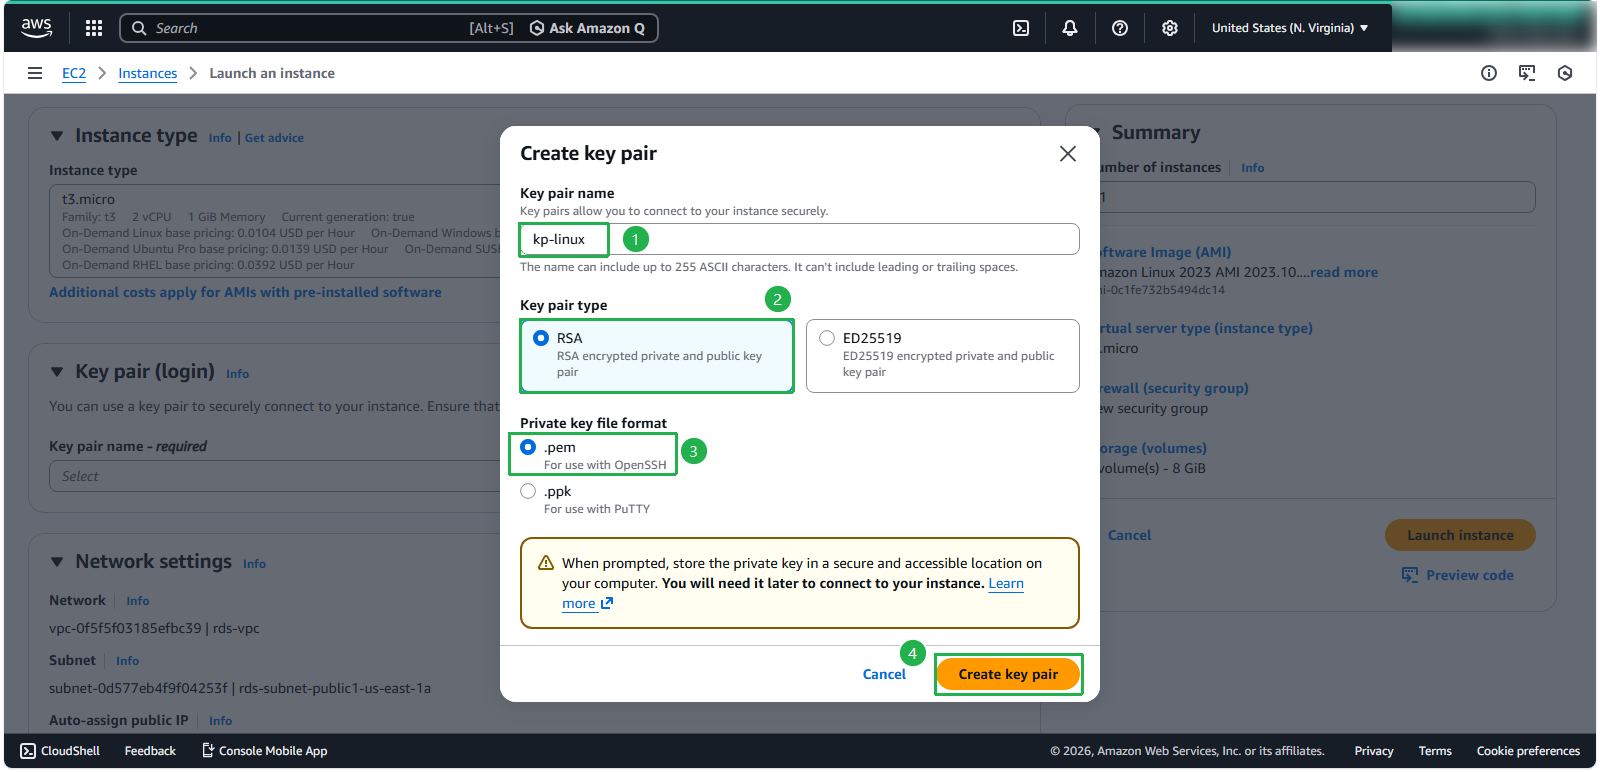
- Configure the key pair:
- Name:
kp-linux - Key pair type: RSA
- Private key format: .pem
- Click Create key pair
ℹ️ Information: The kp-linux.pem file will be downloaded automatically, you need to keep this file for the following steps.
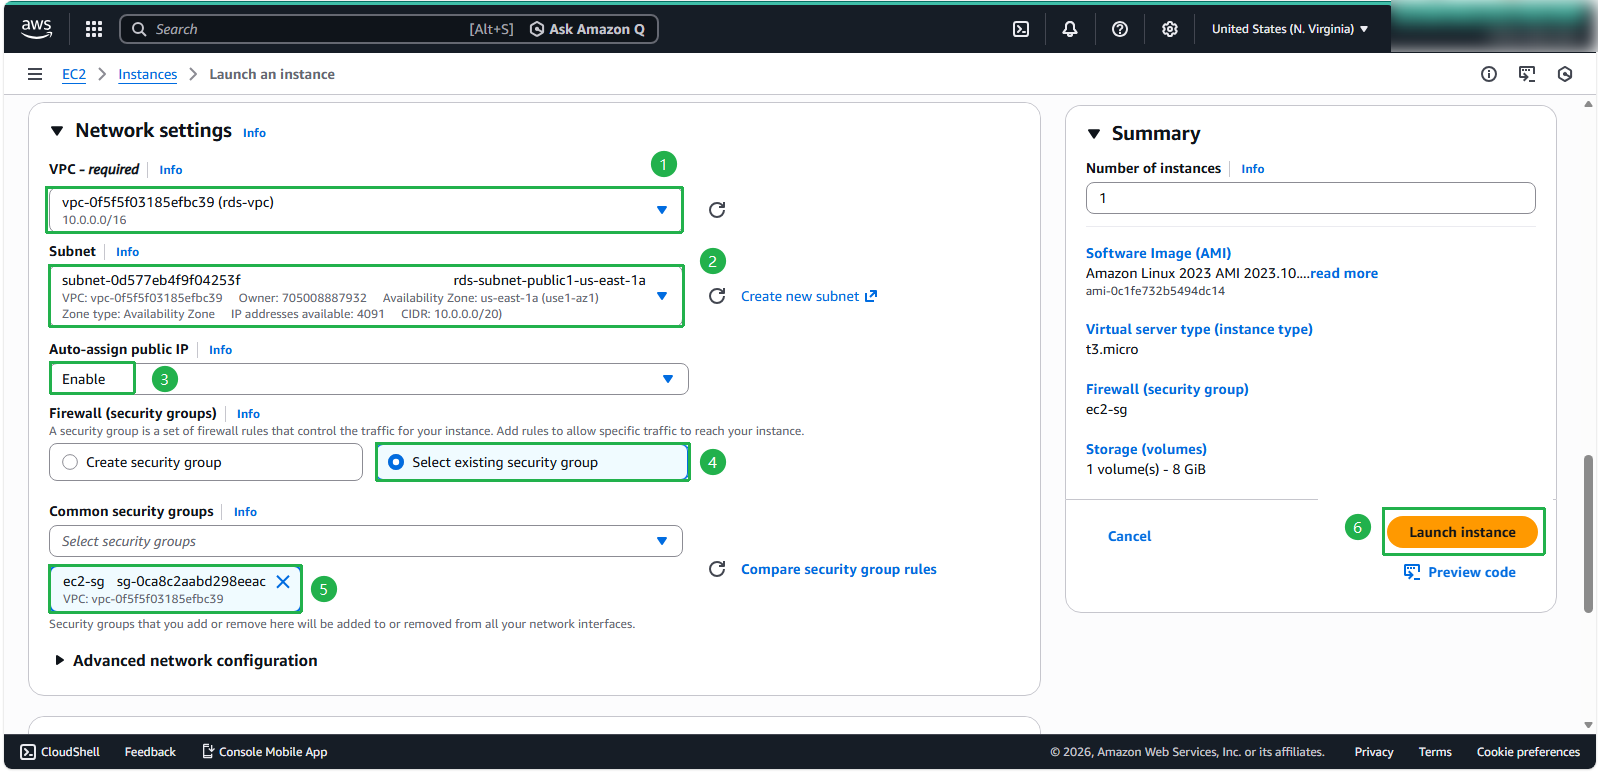
- For network configuration:
- Click the Edit button
- VPC: Select the VPC you created in the previous step
- Subnet: Choose a Public subnet
- Ensure Auto-assign public IP is enabled
- Select Select existing security group
- Choose ec2-sg
- Click Launch instance
🔒 Security Note: Security groups act as virtual firewalls that control inbound and outbound traffic to your instance. Ensure your security group allows SSH access (port 22) from your IP address only.
💡 Pro Tip: Placing this instance in a public subnet allows direct internet access, which is necessary for initial setup and configuration.
- Verify your instance is launching:
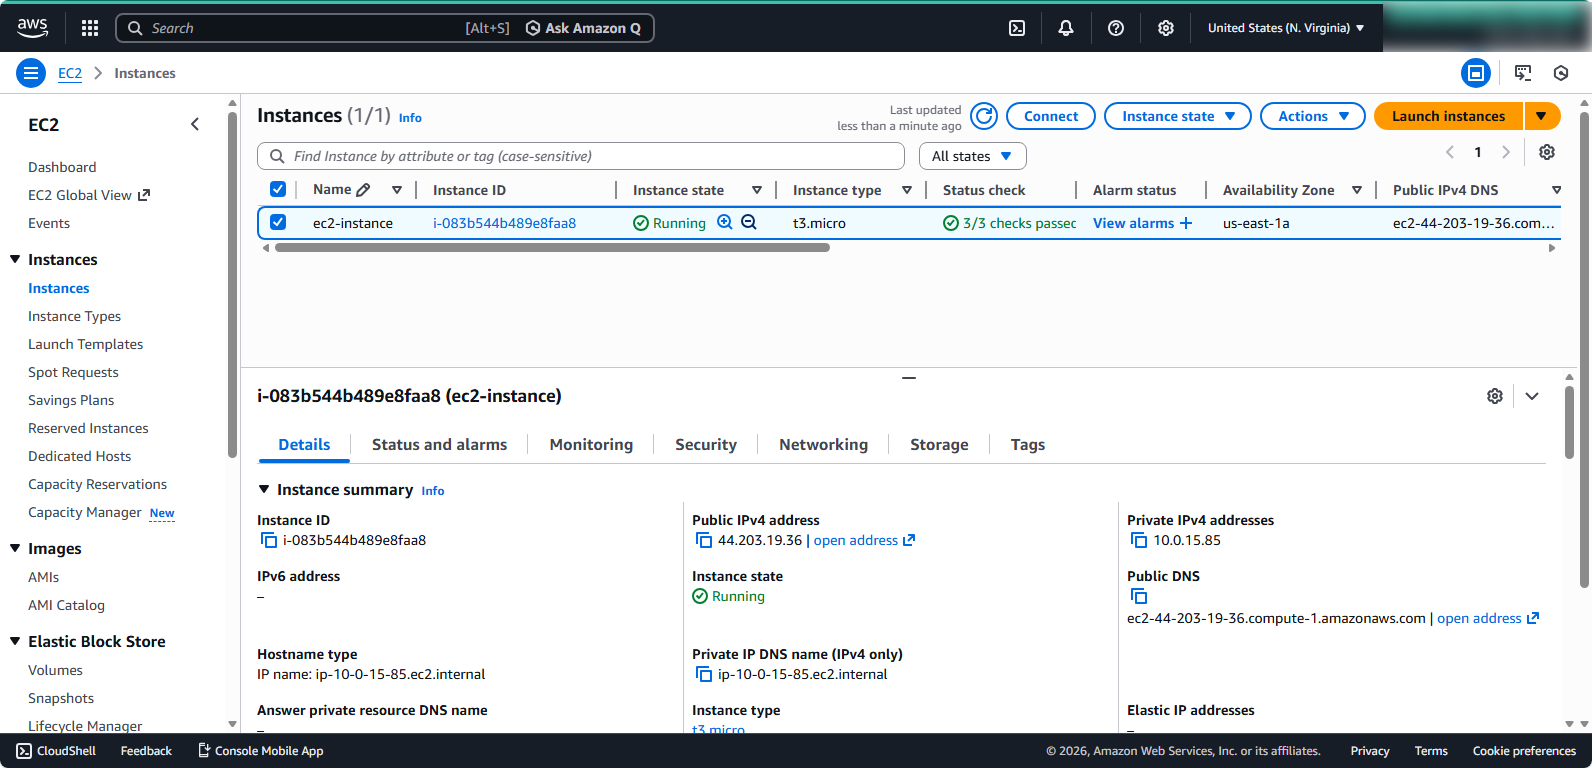
⚠️ Warning: After launching, your instance may take a few minutes to initialize. Wait until the instance state shows as “running” and status checks have passed before proceeding to the next step.
Connecting to Your EC2 Instance via SSH Using MobaXterm
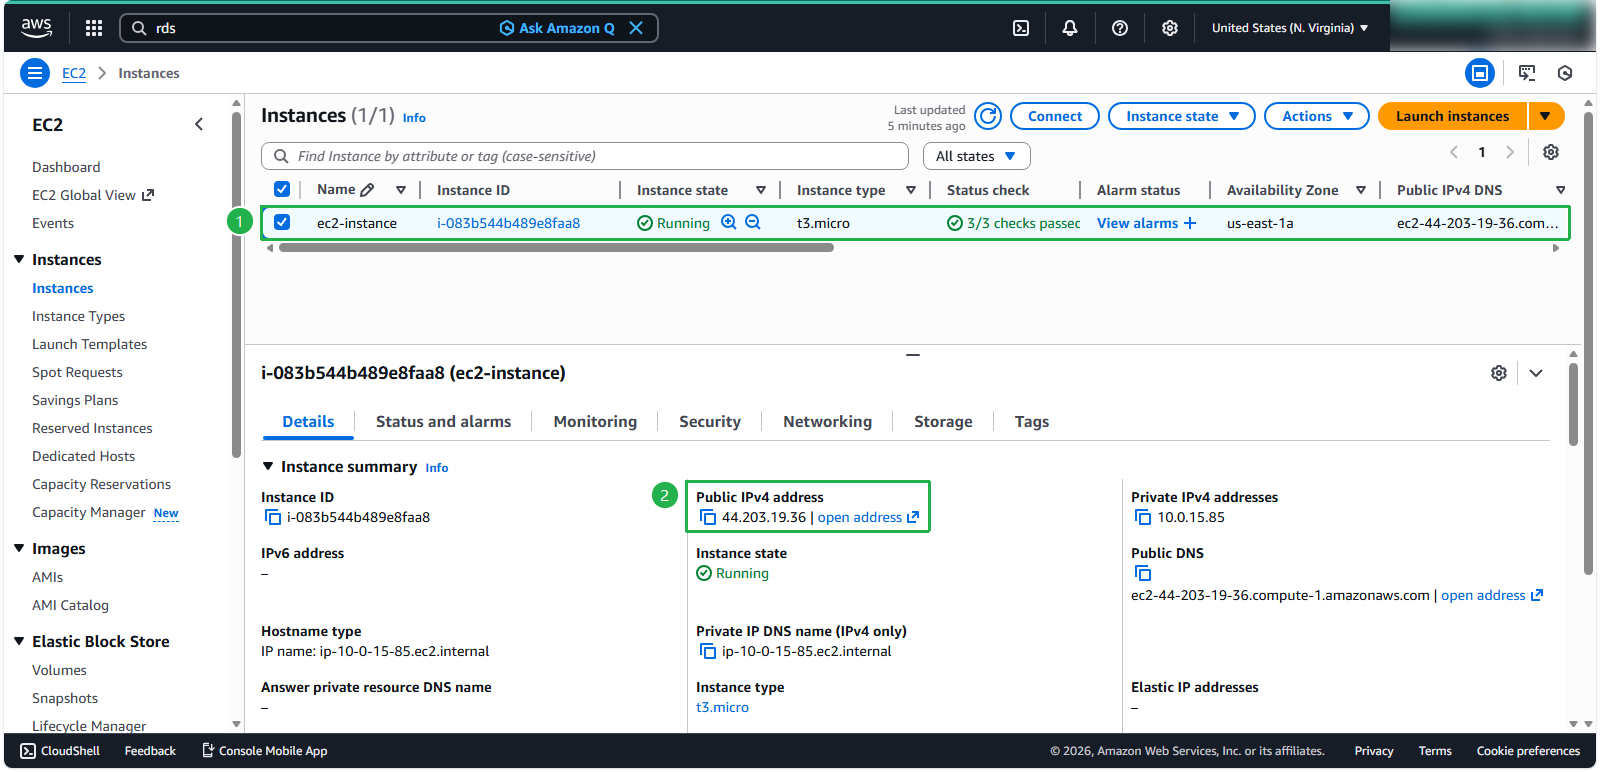
- Click to ec2-instance, copy Public IPv4 address
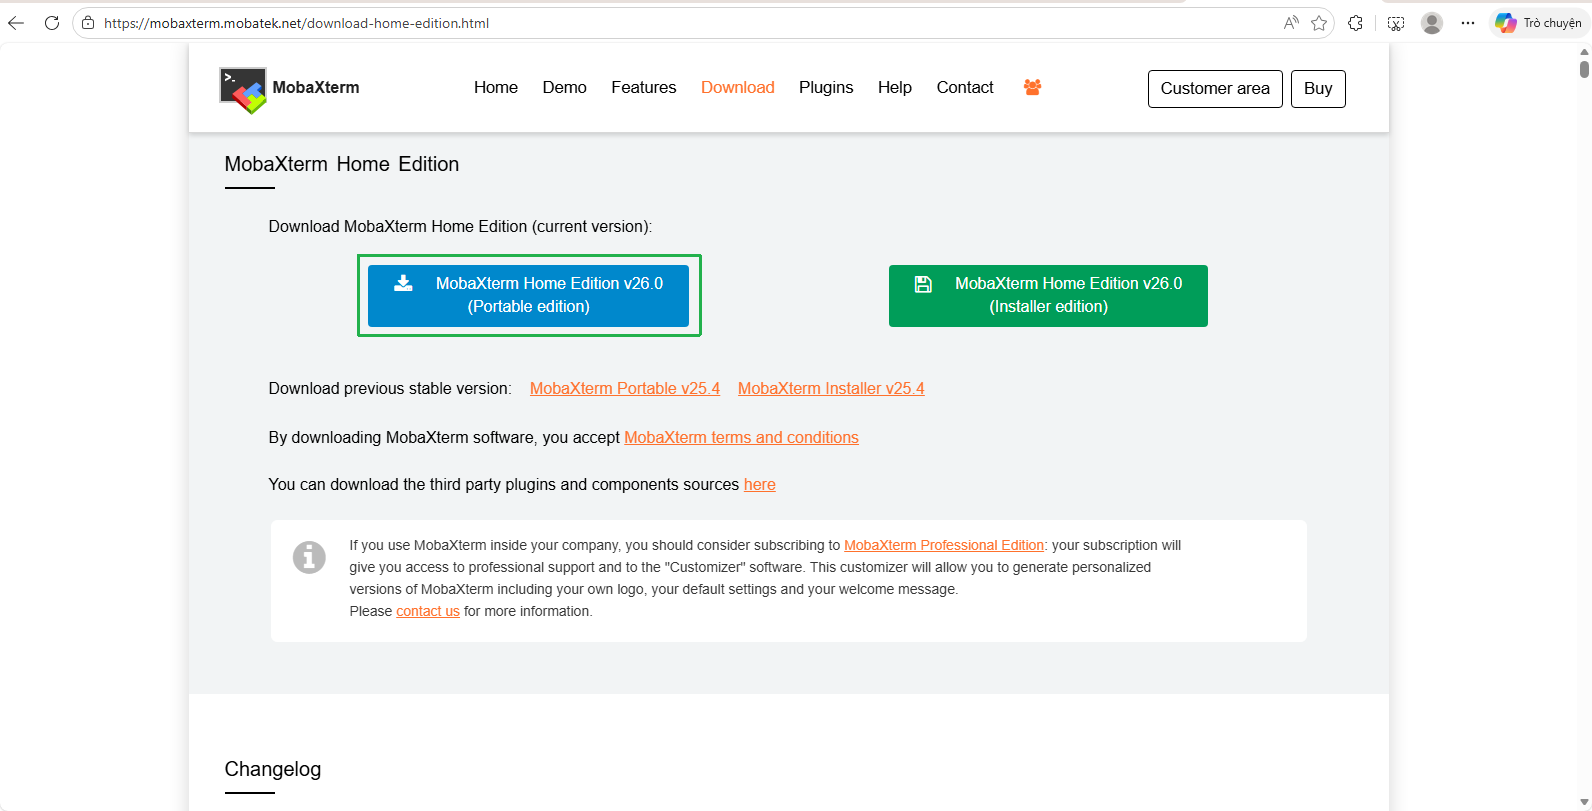
Download MobaXterm to connect to the instance via SSH on port 22
This is the interface of MobaXterm:
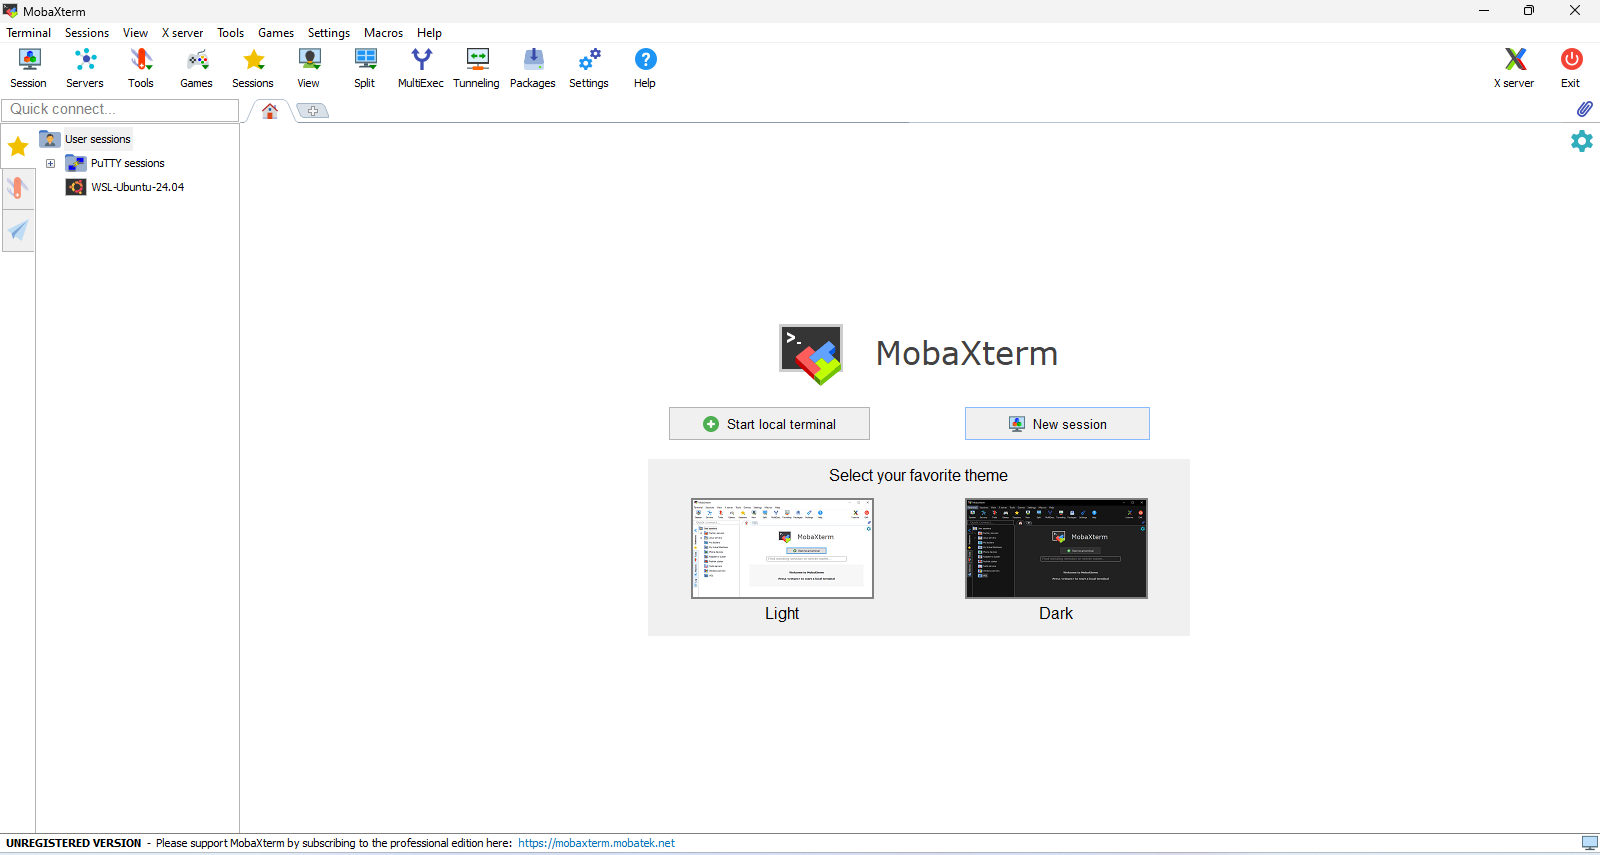
Choose New Session
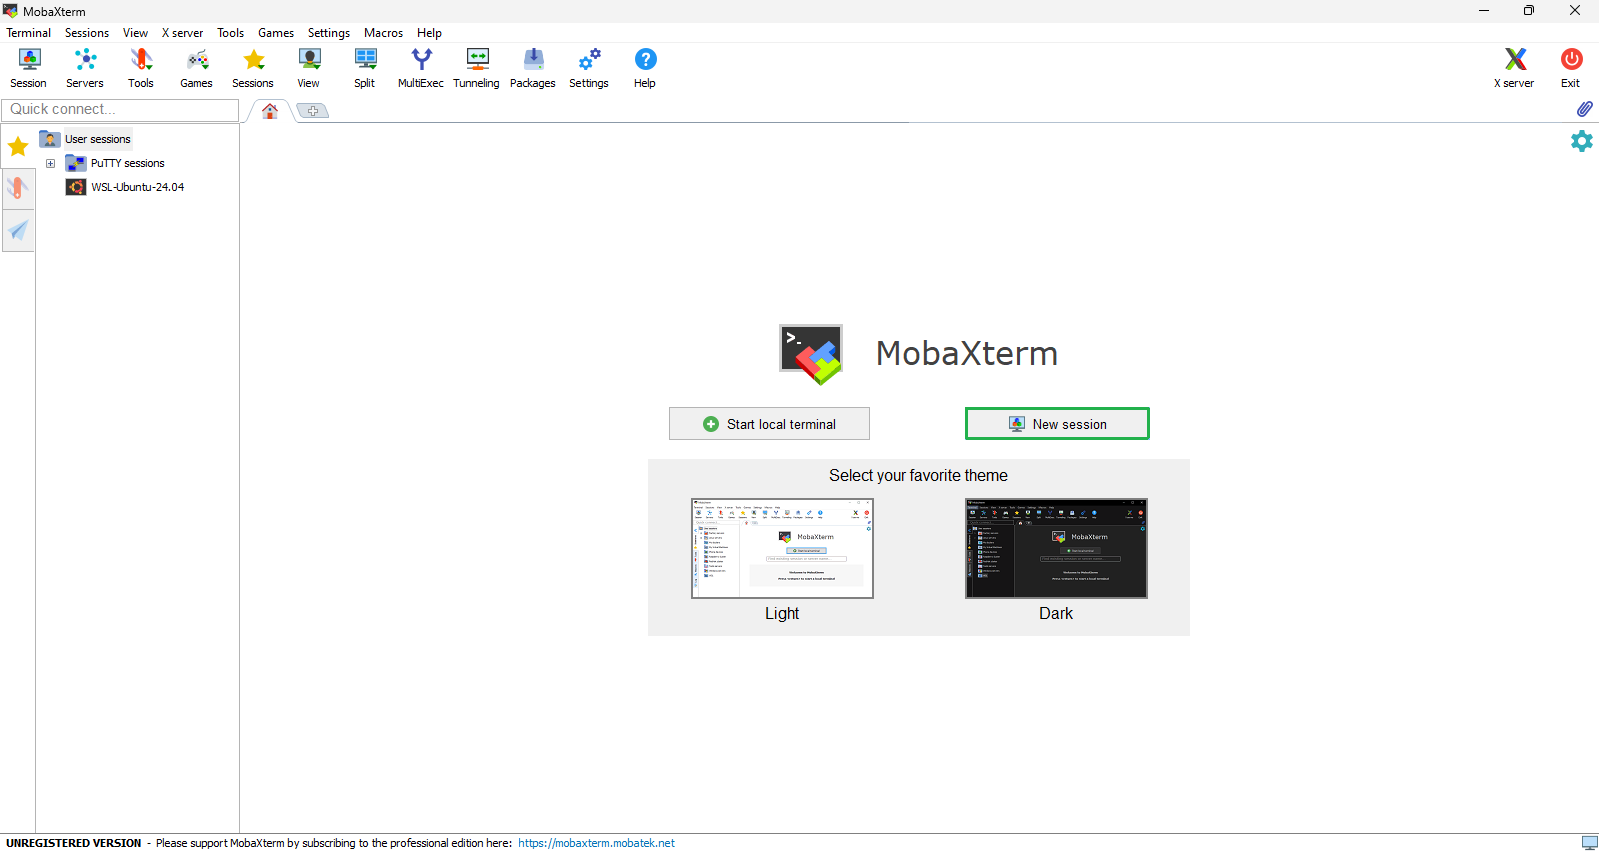
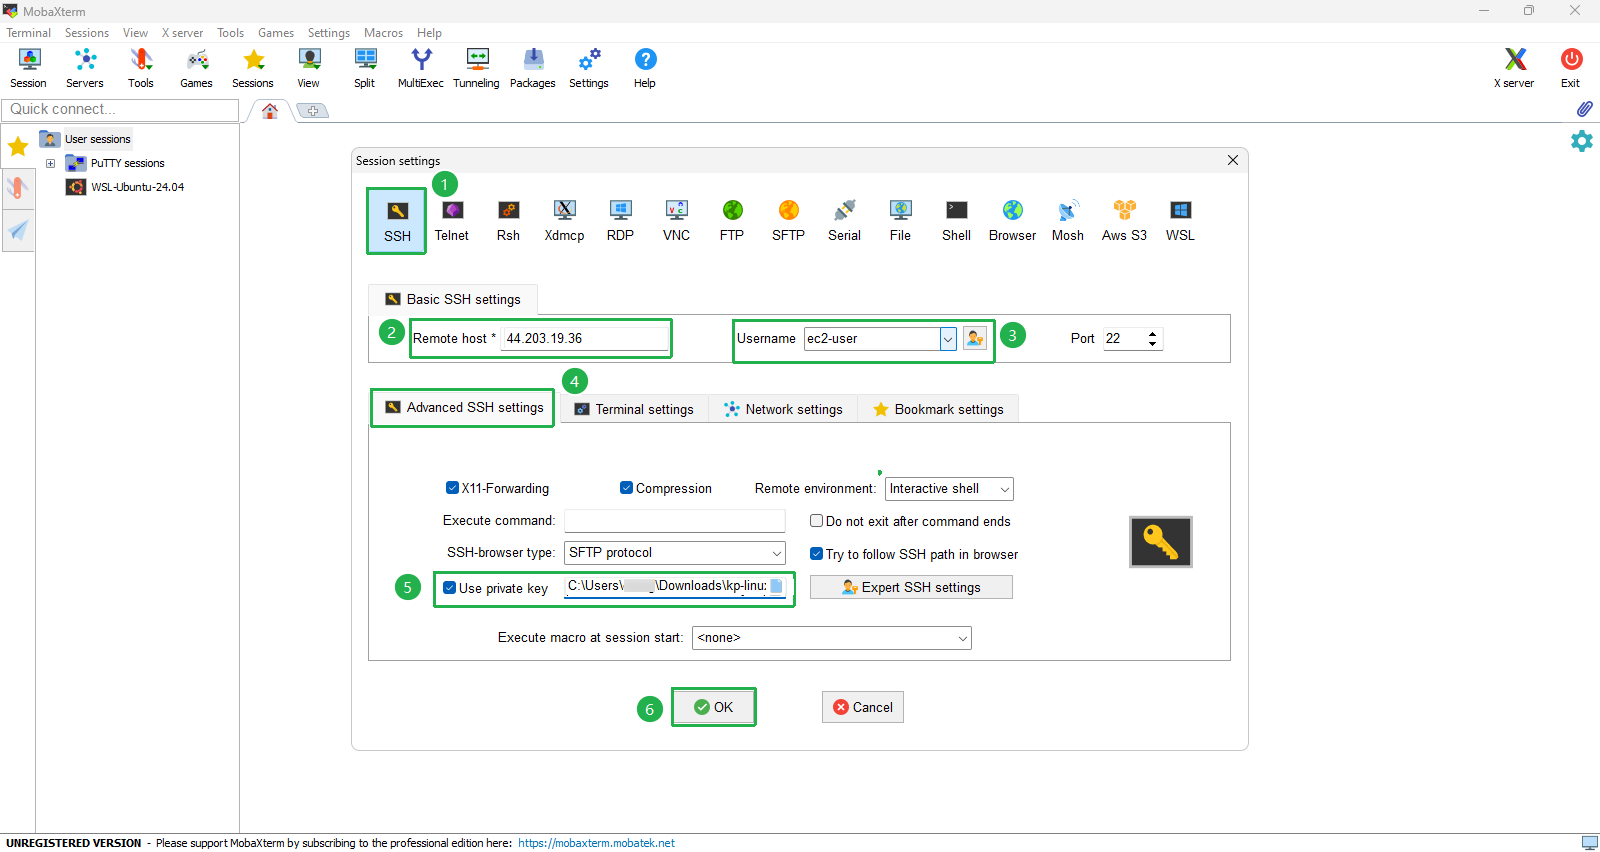
Create a new session in MobaXterm with the following configurations:
- Select SSH
- For Remote host, enter the Public IPv4 address retrieved from the instance
- For Specify username, enter
ec2-user - Verify port 22
- Select Advanced SSH settings
- Select Use private key and select keypair of instance.
- Click OK
- A warning will appear. Select Accept to begin the connection.
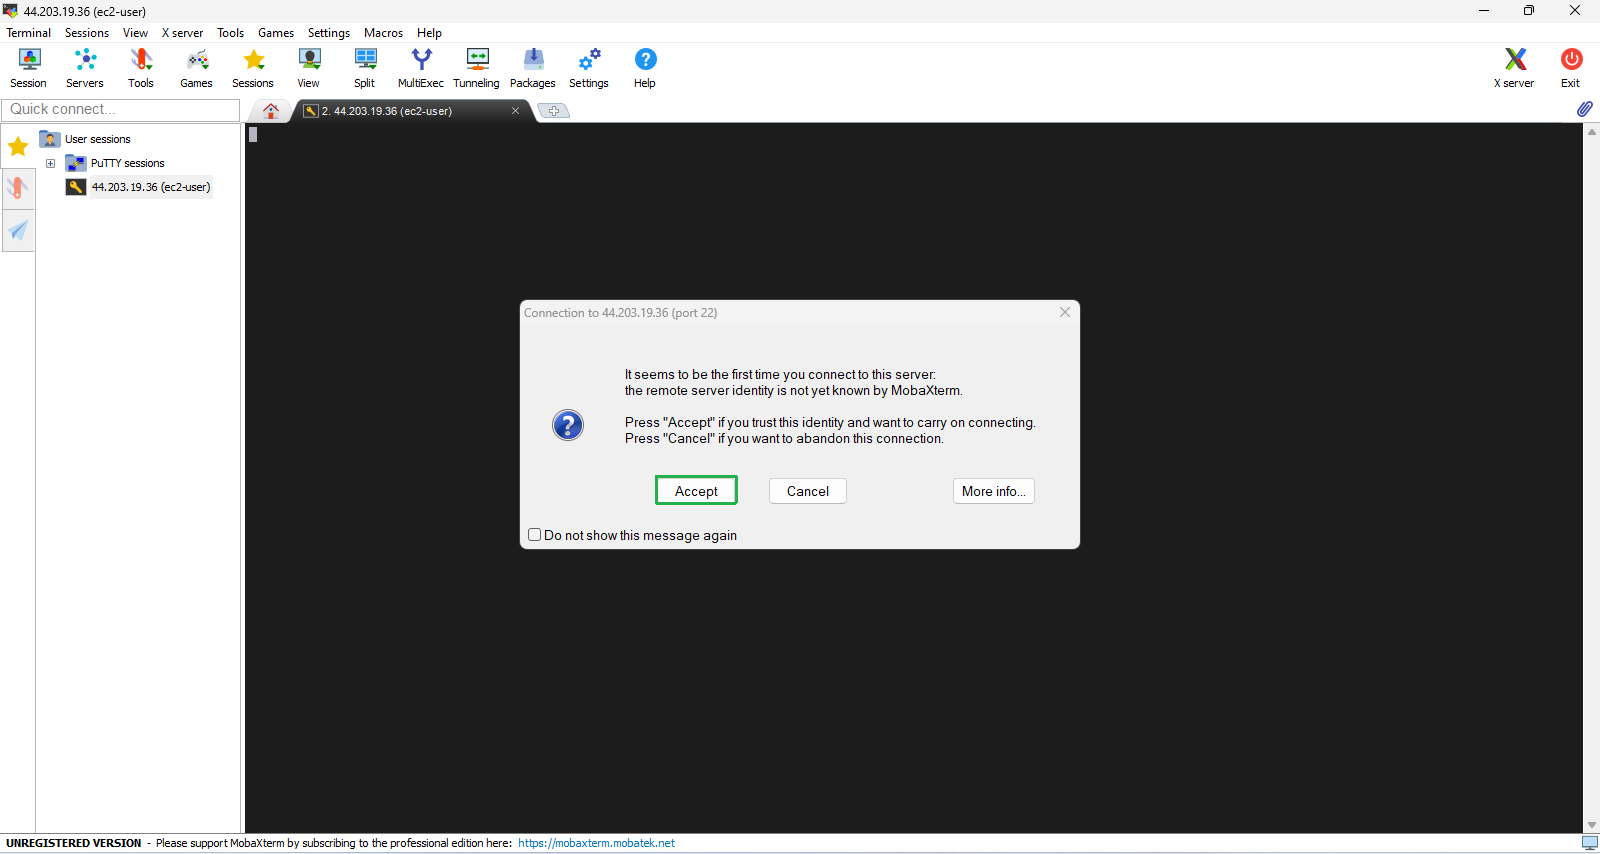
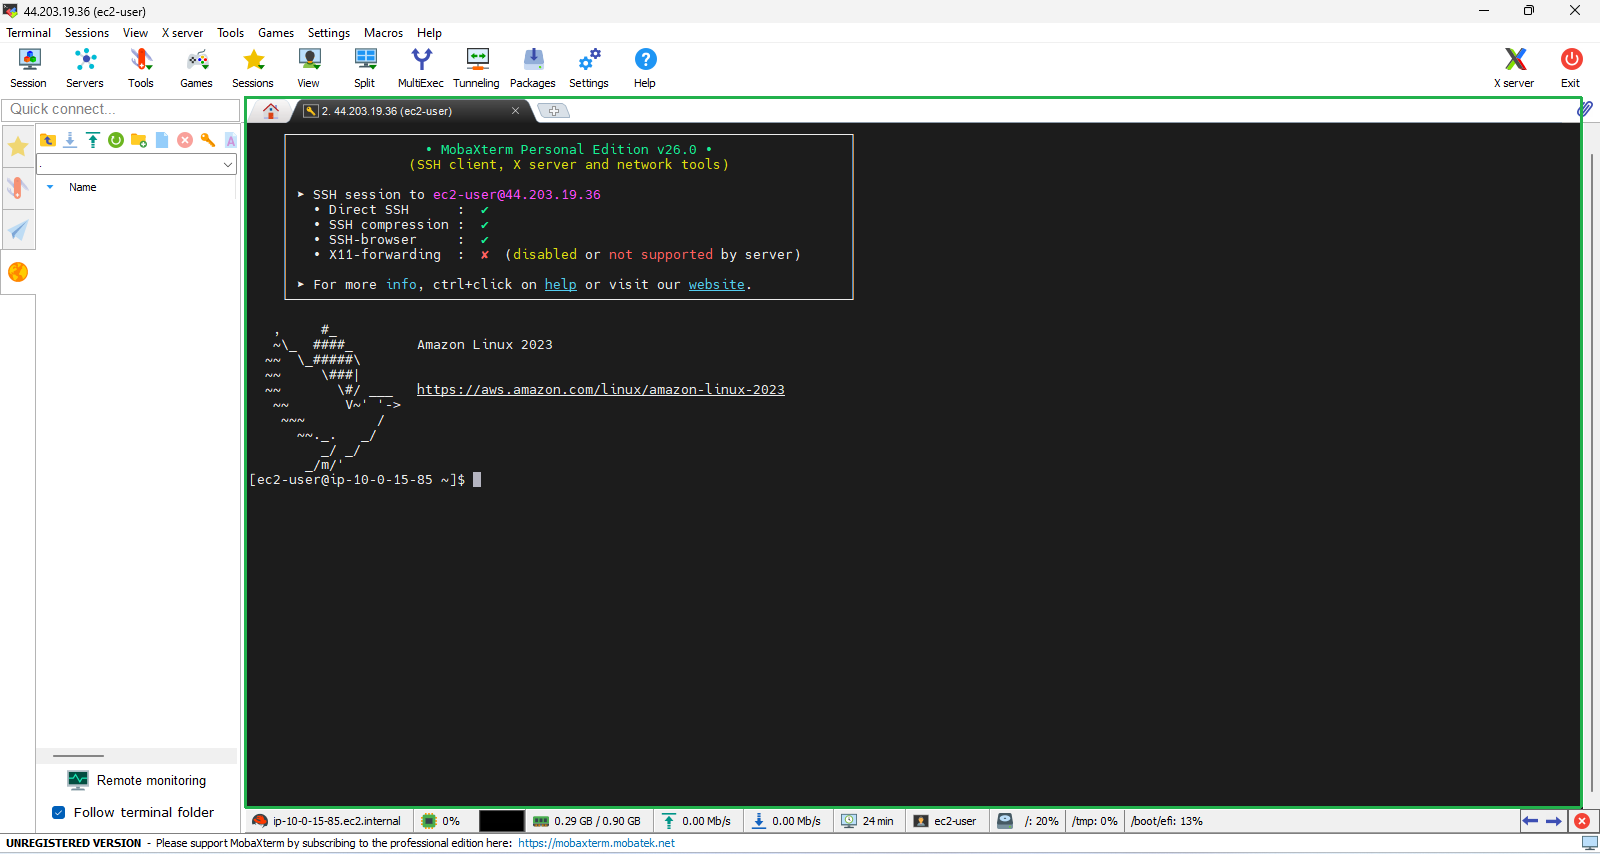
- You did successfully SSH into ec2-instance